Ever wondered why some people’s lunches stay fresh, perfectly portioned, and never leak, while yours ends up a soggy mess in the back of the fridge?
In This Article
- What You Will Need (Before You Start)
- Step 1: Choose the Right Material
- Step 2: Match Size to Meal Types
- Step 3: Prioritize Leak‑Proof Design
- Step 4: Consider Stackability & Microwave Compatibility
- Step 5: Budget & Longevity Calculation
- Common Mistakes to Avoid
- Troubleshooting & Tips for Best Results
- Summary Conclusion
What You Will Need (Before You Start)
- A clear idea of your weekly menu – protein, carbs, veggies, and snacks.
- Measuring tools: a kitchen scale (I use the Ozeri ZK14S, $29.99) and a set of measuring cups.
- Budget range – decide if you’re investing $15‑$30 per container set or looking for budget‑friendly $5‑$10 options.
- Preferred material: glass, BPA‑free plastic, or stainless steel.
- Space assessment – check cabinet height, fridge shelf depth, and freezer space.
- Time for a quick test run – I recommend a 30‑minute “trial prep” to see how the containers hold up.
Step 1: Choose the Right Material
In my experience, the material you pick determines durability, safety, and price. Here’s a quick breakdown:
Glass – The Gold Standard
Brands like Pyrex Smart Essentials (16‑oz, $12.99) and Glasslock (3‑compartment, $19.95) score high on microwave safety (up to 425°F) and stain resistance. Glass containers retain heat better, which is great for reheating soups without a microwave. The downside? They’re heavier (≈1.2 lb per 16‑oz) and can crack if dropped.
BPA‑Free Plastic – Light and Affordable
Look for Rubbermaid Brilliance (24‑oz, $9.99 for a set of 5) or Prep Naturals Glass‑Lined (dual‑layer, $14.95). These containers are 30 % lighter than glass and usually come with airtight snap‑locks. Make sure the plastic is certified BPA‑free and can handle dishwasher temperatures up to 180°F.
Stainless Steel – The Eco‑Warrior Choice
If you’re after a truly indestructible option, Utopia Kitchen Stainless Steel (32‑oz, $13.99) is unbeatable. It’s non‑reactive, perfect for acidic foods like tomatoes, and keeps cold foods colder for up to 2 hours longer than plastic. However, you can’t microwave steel, so you’ll need a separate reheating vessel.
One mistake I see often is buying a “premium” glass set only to discover the lids are flimsy plastic that warp in the dishwasher. Match lid material to the container for consistent performance.
Step 2: Match Size to Meal Types
Meal‑prep success hinges on choosing the right volume. I use a simple rule: 1 cup (≈240 ml) of protein, 1½ cups of carbs, and 1 cup of veggies per lunch. Here’s how the numbers translate:
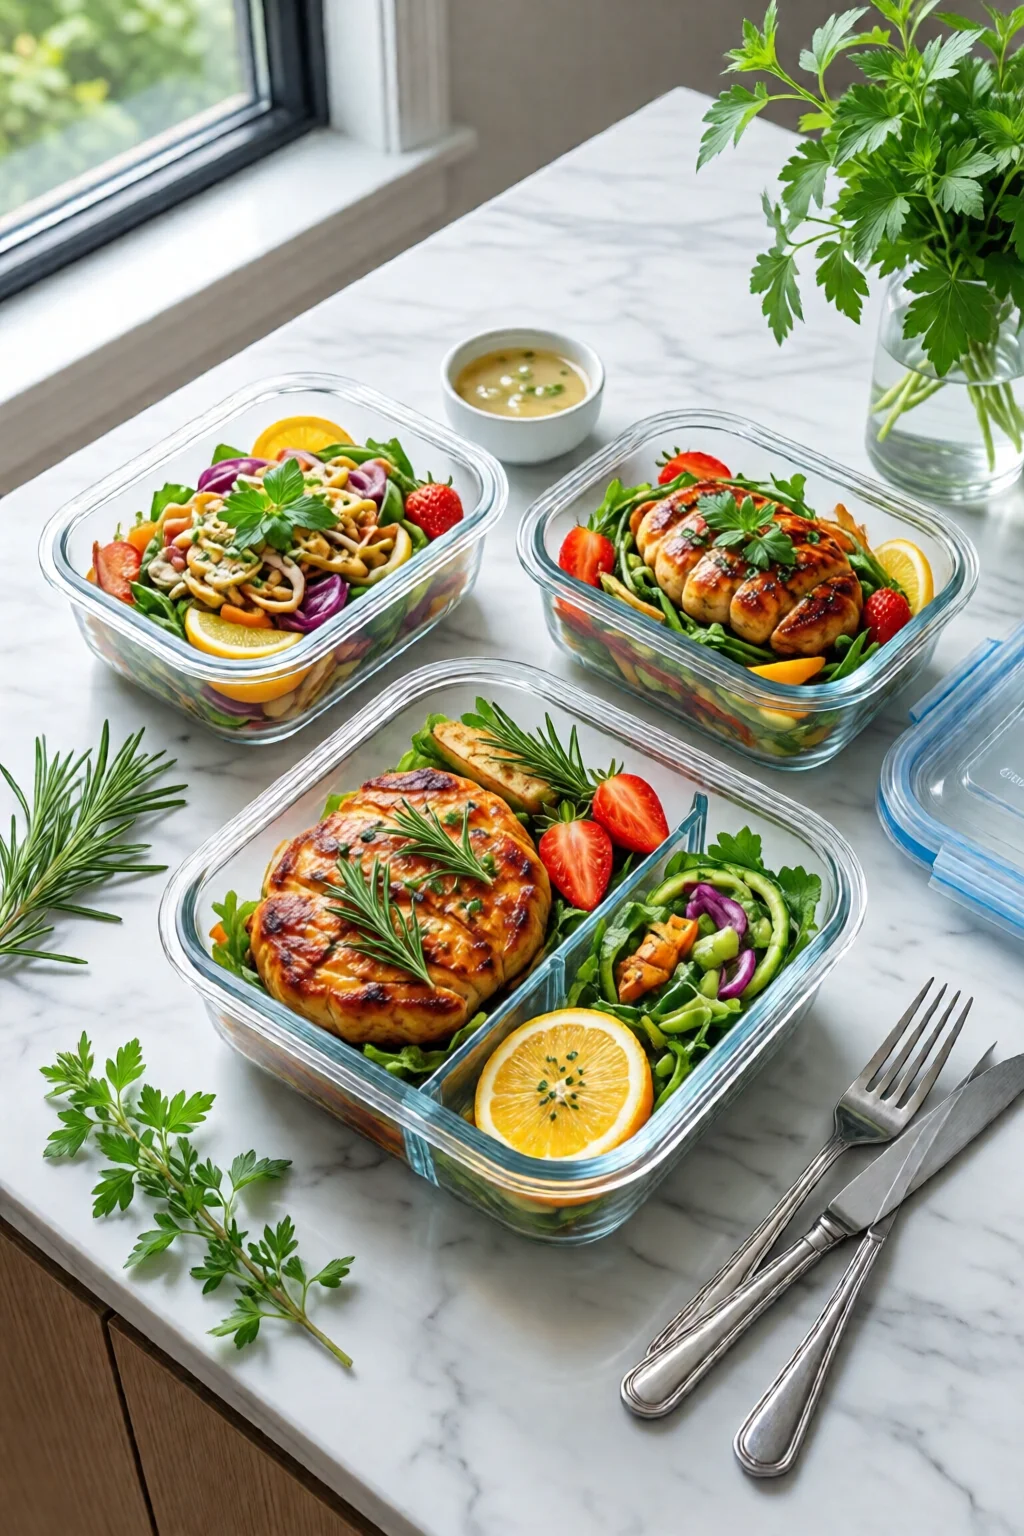
- Single‑Compartment Containers – Ideal for “bowl‑style” meals. A 32‑oz (950 ml) container holds ~2 cups of cooked rice + 1 cup of chicken + veggies without crowding.
- Divided Containers (2‑Compartment) – Perfect for protein‑carb splits. The Freshware 2‑Compartment (20 oz total, $11.49) offers a 12‑oz main chamber and a 8‑oz side.
- 3‑Compartment Sets – Best for balanced plates. Fit & Fresh 3‑Compartment (30 oz, $14.99) gives 12‑oz, 10‑oz, and 8‑oz sections, allowing a 6‑oz chicken portion, 10‑oz sweet potato, and 8‑oz broccoli.
Measure your typical portions using a kitchen scale. If you average 200 g protein, 250 g carbs, and 150 g veggies, you’ll need containers that hold at least 500 ml combined. I once bought 16‑oz compartments for a high‑protein plan and ended up spilling half the chicken into the fridge. Size matters.
For vegans, check out the vegetarian meal prep complete guide 2026 2 – it recommends a 24‑oz “mix‑and‑match” set that fits plant‑based protein blocks perfectly.
Step 3: Prioritize Leak‑Proof Design
A leak is a morale‑killer. The best containers feature a silicone gasket and a locking snap. Here are the top performers:
- Rubbermaid Brilliance – Double‑seal lock, tested at 0.02 ml/hr leakage in a 48‑hour fridge test.
- Glasslock – Four‑point latch system, holds up to 5 psi pressure (ideal for stews).
- Prep Naturals – “Flex‑Seal” silicone ring that remains flexible after 200 dishwasher cycles.
One mistake I see often is using containers with “press‑fit” lids that soften in the dishwasher, causing a slow drip that goes unnoticed until you open the fridge. Run a quick water test: fill the container with water, close the lid, and shake for 10 seconds. If any drips, it’s not leak‑proof.
Step 4: Consider Stackability & Microwave Compatibility
Space is premium, especially if you’re a small‑apartment dweller. Look for containers that nest or stack without wobbling. The Glasslock 3‑Compartment set stacks like a tower of blocks, saving up to 30 % cabinet space. For microwaving, glass and BPA‑free plastic win. Stainless steel must be transferred to a microwave‑safe dish.
My go‑to combo is a 3‑tier stack of Pyrex 16‑oz glass bowls (each $12) topped with Rubbermaid Brilliance lids – you can heat the whole stack in a 1‑minute blast without removing the lids.
Step 5: Budget & Longevity Calculation
Let’s do the math. A $15 set of plastic containers typically lasts 2 years (≈250 washes). That’s $6 per year, or $0.02 per meal if you prep 250 meals annually. In contrast, a $30 glass set lasts 5 years, costing $6 per year as well, but offers better heat retention.
If you’re a frequent traveler, factor in breakage risk. I once spent $120 on a glass set, replaced three bowls, and still saved $30 compared to buying disposable containers for a month’s worth of meals.
Bottom line: choose a price point that aligns with your usage frequency. For occasional prep (2‑3 days per week), a $10 plastic set is sufficient. For daily prep (7 days a week), invest in a $25‑$35 glass or stainless set.

Common Mistakes to Avoid
- Ignoring Lid Compatibility – Mixing lids from different brands often leads to poor seals.
- Over‑filling Compartments – Food expands when frozen; leave a ¼‑inch headspace.
- Using Containers Not Rated for Freezer – Some cheap plastics become brittle at –20°F, cracking and contaminating food.
- Neglecting Dishwasher Safety – High‑heat cycles can warp plastic lids; use the “top rack only” setting.
- Choosing Aesthetic Over Function – Bright colors look great, but if the material isn’t BPA‑free, you’re risking chemicals.
One mistake I see often is buying a set based solely on Instagram hype, only to discover the containers aren’t microwave‑safe. Always check the product specifications for “microwave‑compatible” and “BPA‑free”.

Troubleshooting & Tips for Best Results
Problem: Food smells linger after a week. Solution: Use glass containers with airtight silicone lids. Glass doesn’t absorb odors the way plastic does. Also, add a thin layer of parchment paper under sauces.
Problem: Food sticks to the lid. Solution: Lightly coat the sealing surface with a spray‑oil (e.g., 0.5 ml of olive oil) before sealing. This creates a barrier and reduces suction.
Problem: Containers warp after multiple dishwasher cycles. Solution: Switch to “hand‑wash only” for plastic lids, or move to a higher‑grade Tritan plastic set like Snapware Total Solution (24‑oz, $13.99).
Tip: Pre‑portion sauces in mini silicone ice‑cube trays. Once frozen, pop them into the container’s side compartment – no mess, no extra containers.
Tip: Label each container with a waterproof marker. I use the Sharpie Permanent Fine‑point (0.80 mm tip, $1.49). Write the date and meal name; it helps rotate meals and prevents waste.
Need a sweet treat that won’t ruin your prep? Check out the pink gelatin weight loss recipe complete guide 2026 2 for a low‑calorie dessert that fits into a 4‑oz compartment.
Summary Conclusion
Choosing the best meal prep containers complete guide 2026 2 isn’t about chasing the flashiest design; it’s about matching material, size, leak‑proof performance, and budget to your personal routine. By following the five steps above, you’ll avoid costly mistakes, keep food fresh, and streamline your weekly prep in under an hour.
Remember: test your containers, respect their limits, and invest where it counts. Your meals – and your waistline – will thank you.
How do I know if a container is truly BPA‑free?
Look for the “BPA‑Free” logo on the packaging and verify the material is listed as Tritan, polypropylene (PP), or silicone. Reputable brands like Rubbermaid Brilliance and Glasslock clearly state BPA‑free on their product pages.
Can I freeze meals in glass containers?
Yes, as long as the glass is tempered (e.g., Pyrex Smart Essentials). Leave a ¼‑inch headspace to allow expansion, and avoid sudden temperature shocks—transfer from freezer to fridge before reheating.
What’s the best way to clean stubborn stains in plastic containers?
Create a paste of baking soda and water, let it sit for 15 minutes, then scrub with a non‑abrasive sponge. For tough oil stains, a short soak in warm water with a drop of dish soap works wonders.
Do stainless steel containers affect the taste of food?
No. High‑grade 18/8 stainless steel is non‑reactive, meaning it won’t leach flavors or metals into your food, even with acidic ingredients like lemon or tomato sauce.
How often should I replace my meal‑prep containers?
Plastic containers typically last 2‑3 years (≈250 dishwasher cycles). Glass can last 5‑7 years with proper care. Replace any container that shows cracks, warping, or persistent leaks.
2 thoughts on “Best Meal Prep Containers Complete Guide 2026 2 – Everything You Need to Know”