Imagine you’re in the middle of a busy workday, the office chair squeaks, and you feel that familiar mid‑afternoon slump. You glance at the wall‑mounted cable machine, remember the quick core‑strength move you saw on Instagram, and decide to give the pallof press exercise a try. In just a few minutes you’ll feel a solid, stabilizing burn in your abs, lower back, and hips—exactly the kind of functional strength that helps you sit tall at your desk, lift groceries without wobbling, and improve your squat depth at the gym.
In This Article
What You Will Need (or Before You Start)
- Cable machine or resistance band – A standard plate‑loaded cable station like the Rogue Westside Cable Crossover costs about $2,499 and offers smooth, adjustable tension. If space or budget is tight, a Fit Simplify Resistance Band Set ($19.99 for five bands, 10‑100 lb range) works just as well.
- Adjustable bench or sturdy step – Height of 12‑18 in is ideal for a comfortable standing posture.
- Flat, non‑slip shoes – Something with a solid sole like the Nike Metcon 8 ($130) provides the needed stability.
- Timer or stopwatch – To track rest intervals (30‑45 seconds between sets).
- Mat or rubber flooring – Optional, but useful if you’re using a band on a hard surface.
Step 1: Set Up Your Station
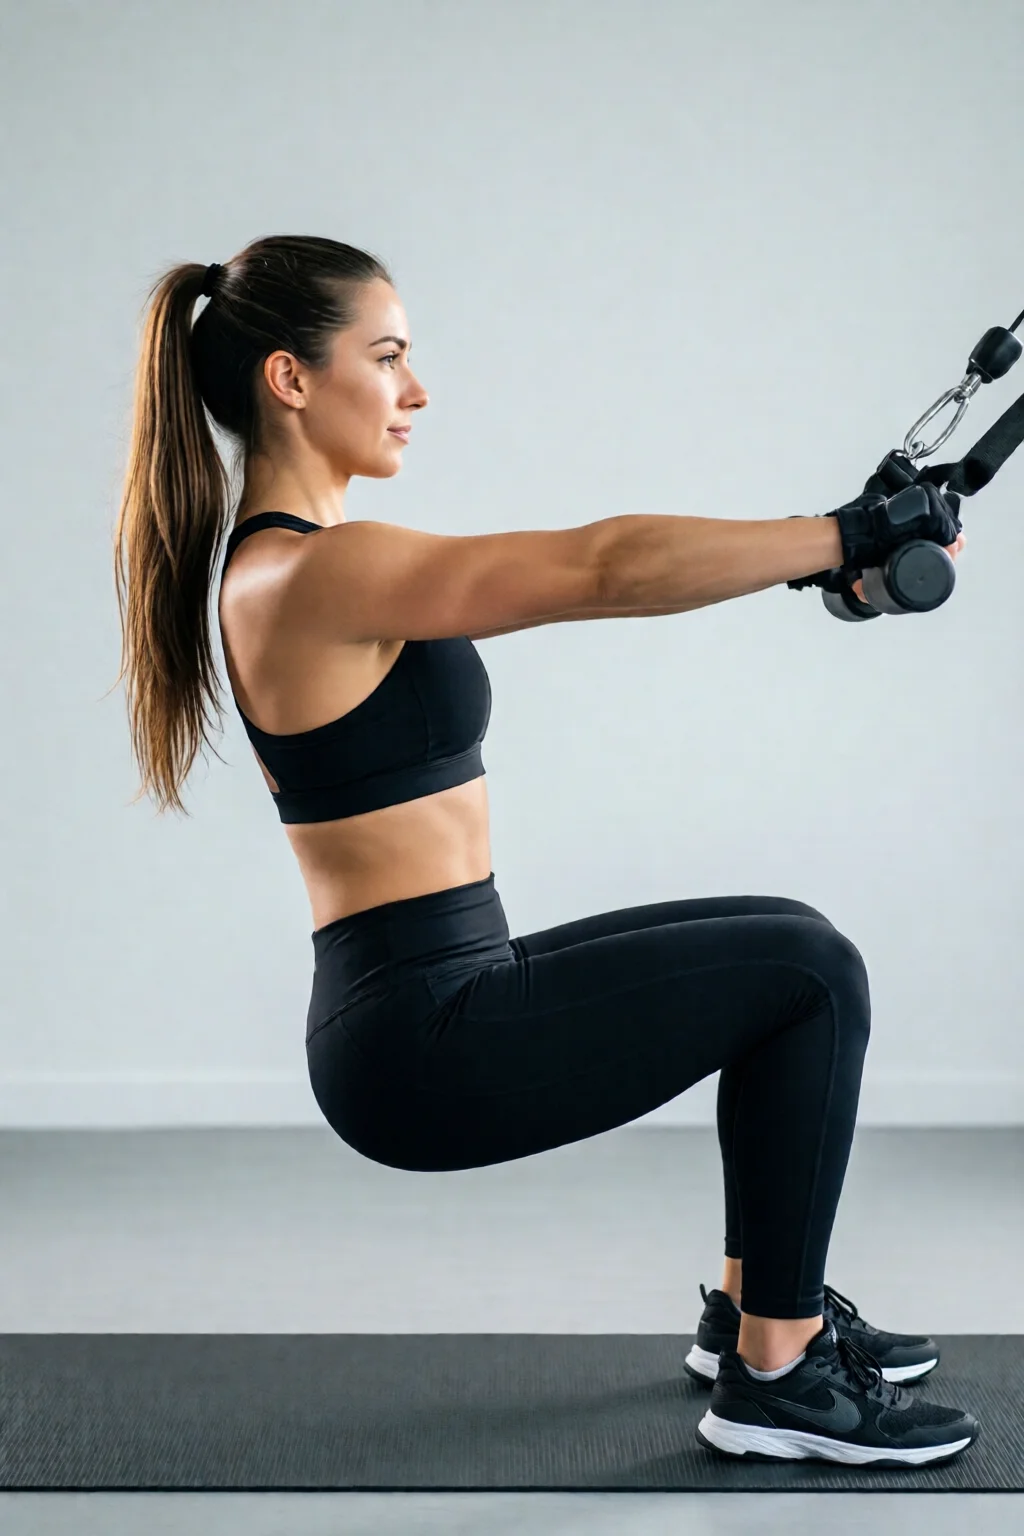
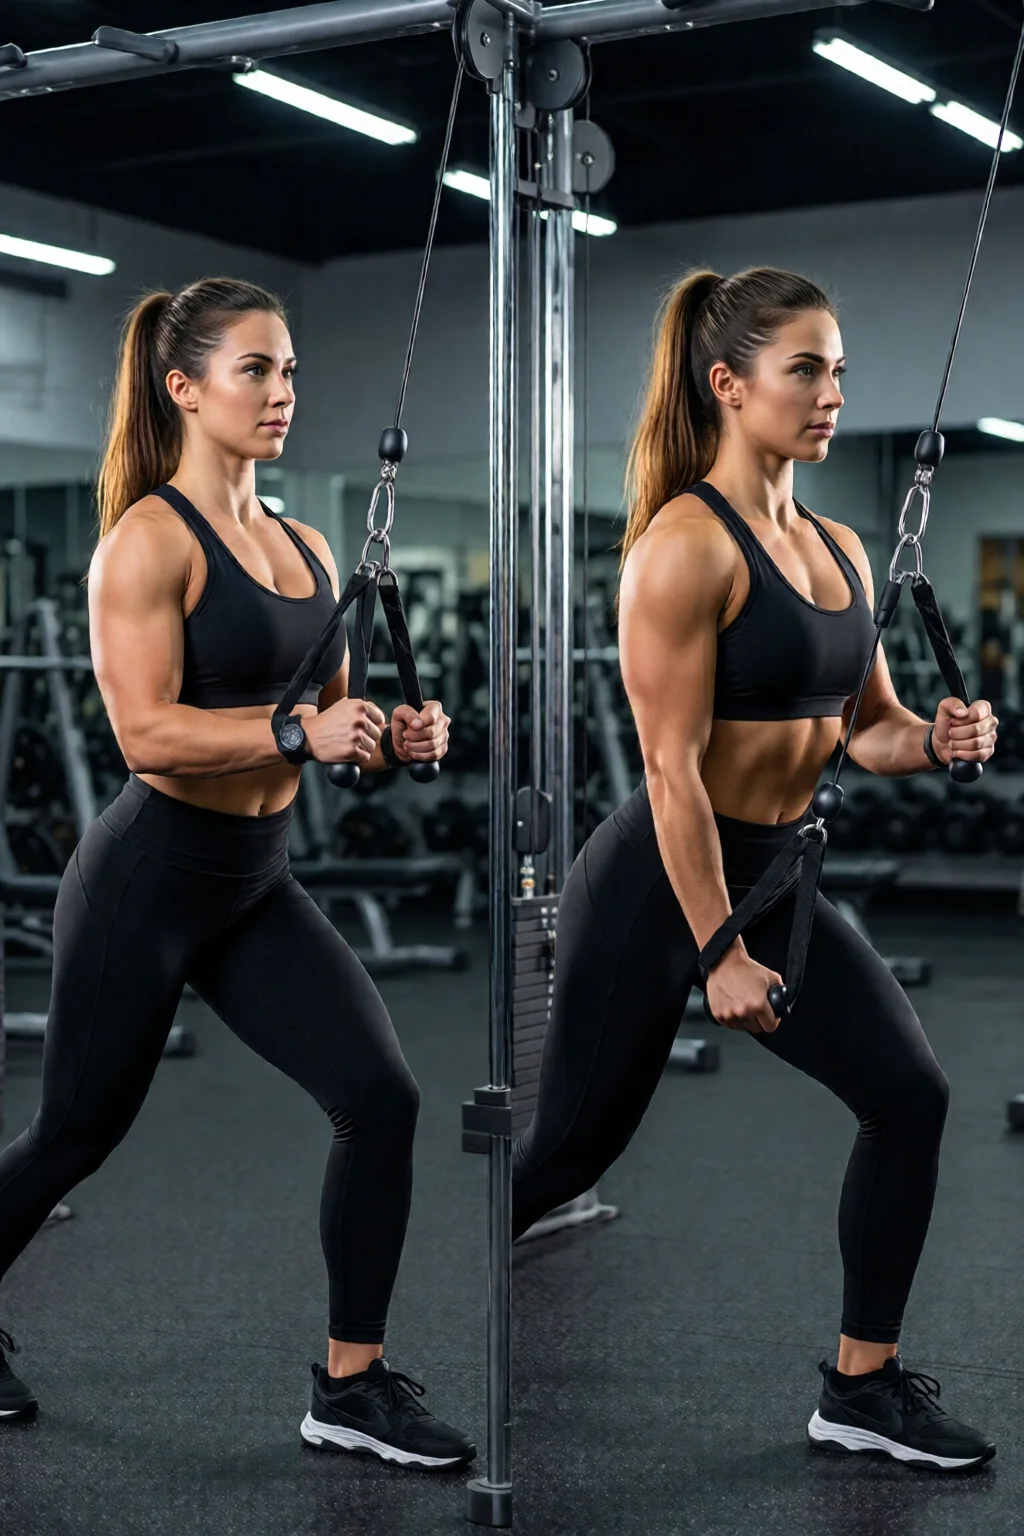
Start by positioning the cable pulley or anchoring point at chest height (roughly 36‑40 in from the floor). If you’re using a band, anchor it to a door attachment or a sturdy pole at the same height. Choose a weight that lets you press for 12‑15 reps while maintaining a neutral spine; for most beginners that’s about 15‑20 lb on a cable or a medium‑resistance band.
Stand perpendicular to the anchor, feet shoulder‑width apart, knees slightly bent. Your working arm (the one holding the handle or band) should be closest to the machine, and the other arm can rest on your hip for balance.
Step 2: Master the Starting Position
Grab the handle with a neutral grip (thumbs up) and bring it to your chest, elbows bent at roughly 90°. Engage your core by pulling your belly button toward your spine—think of zip‑lining your lower abs. Keep your shoulders down and back; avoid shrugging toward your ears.
Take a deep breath in, then exhale as you prepare to press. Your hips should stay square; do not rotate toward the anchor.
Step 3: Execute the Pallof Press Exercise
- Press the handle straight out in front of you, extending the arm fully while maintaining the anti‑rotation tension. Your palm faces the floor, and the line of force stays parallel to the ground.
- Hold the extended position for 1‑2 seconds. During this pause, your core should feel like a solid cylinder holding the weight steady.
- Slowly return the handle to the chest, controlling the eccentric phase (the “lowering” part). Count to three as you bring it back.
- Complete 12‑15 repetitions, then switch sides.
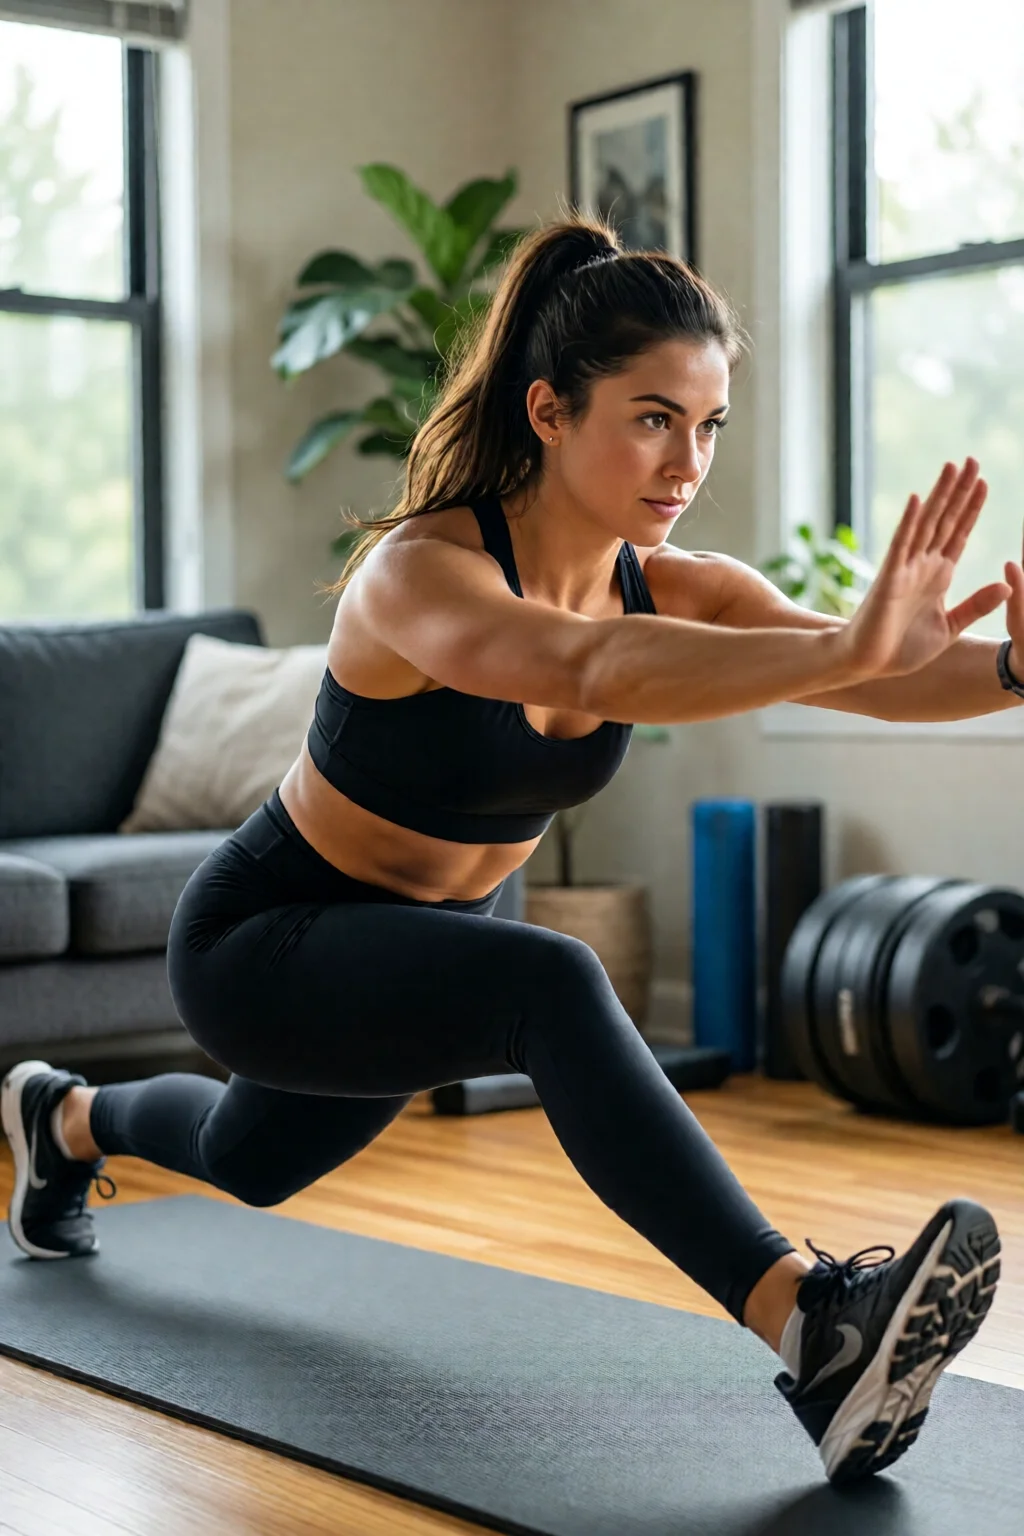
For added challenge, step a few inches forward (creating a “split stance”) or perform the press on an unstable surface like a Bosu ball ($120) to recruit more stabilizer muscles.
Step 4: Progression Variations
- Single‑Arm Pallof Press – Use a heavier weight (25‑30 lb) and keep the non‑working hand on your hip to increase core demand.
- Pallof Press with Rotation – After extending, rotate your torso 45° away from the anchor, then return before lowering. This adds a controlled anti‑rotation twist.
- Pallof Press to Squat – Press, then sit back into a bodyweight squat while maintaining the press position, then stand and lower. Great for full‑body coordination.
- Time‑Under‑Tension (TUT) Sets – Instead of counting reps, hold the extended press for 10‑12 seconds per side, focusing on static core stability.
Common Mistakes to Avoid
One mistake I see often is letting the hips “hip‑hinge” toward the anchor. This reduces core activation and can strain the lower back. Keep your pelvis neutral; imagine a straight line from your head to your heels.
Another frequent error is using momentum. If you’re swinging the weight or jerking the band, you’re not training the anti‑rotation muscles effectively. Slow, controlled movements are the key.
Don’t forget to breathe. Holding your breath (the Valsalva maneuver) can spike blood pressure, especially with heavier loads. Inhale before the press, exhale while you press, and inhale again as you return.
Finally, avoid overlapping the same muscle groups on consecutive days. The core recovers quickly, but give it at least 48 hours before heavy anti‑rotation work if you’re also doing heavy lifts like deadlifts or squats.
Troubleshooting and Tips for Best Results
Feeling Too Easy? Increase the load by 5‑10 lb on the cable, or switch to a band with a higher resistance tier (e.g., 70‑lb). You can also widen your stance to demand more lateral stability.
Struggling to Keep Form? Reduce the weight to 10‑12 lb and focus on the “brace” sensation—press your ribs toward the hips, as if you’re preparing for a gentle punch.
Lower Back Pain? Double‑check your hip position; a slight anterior tilt will shift stress to the lumbar spine. Engage the glutes lightly to protect the lower back.
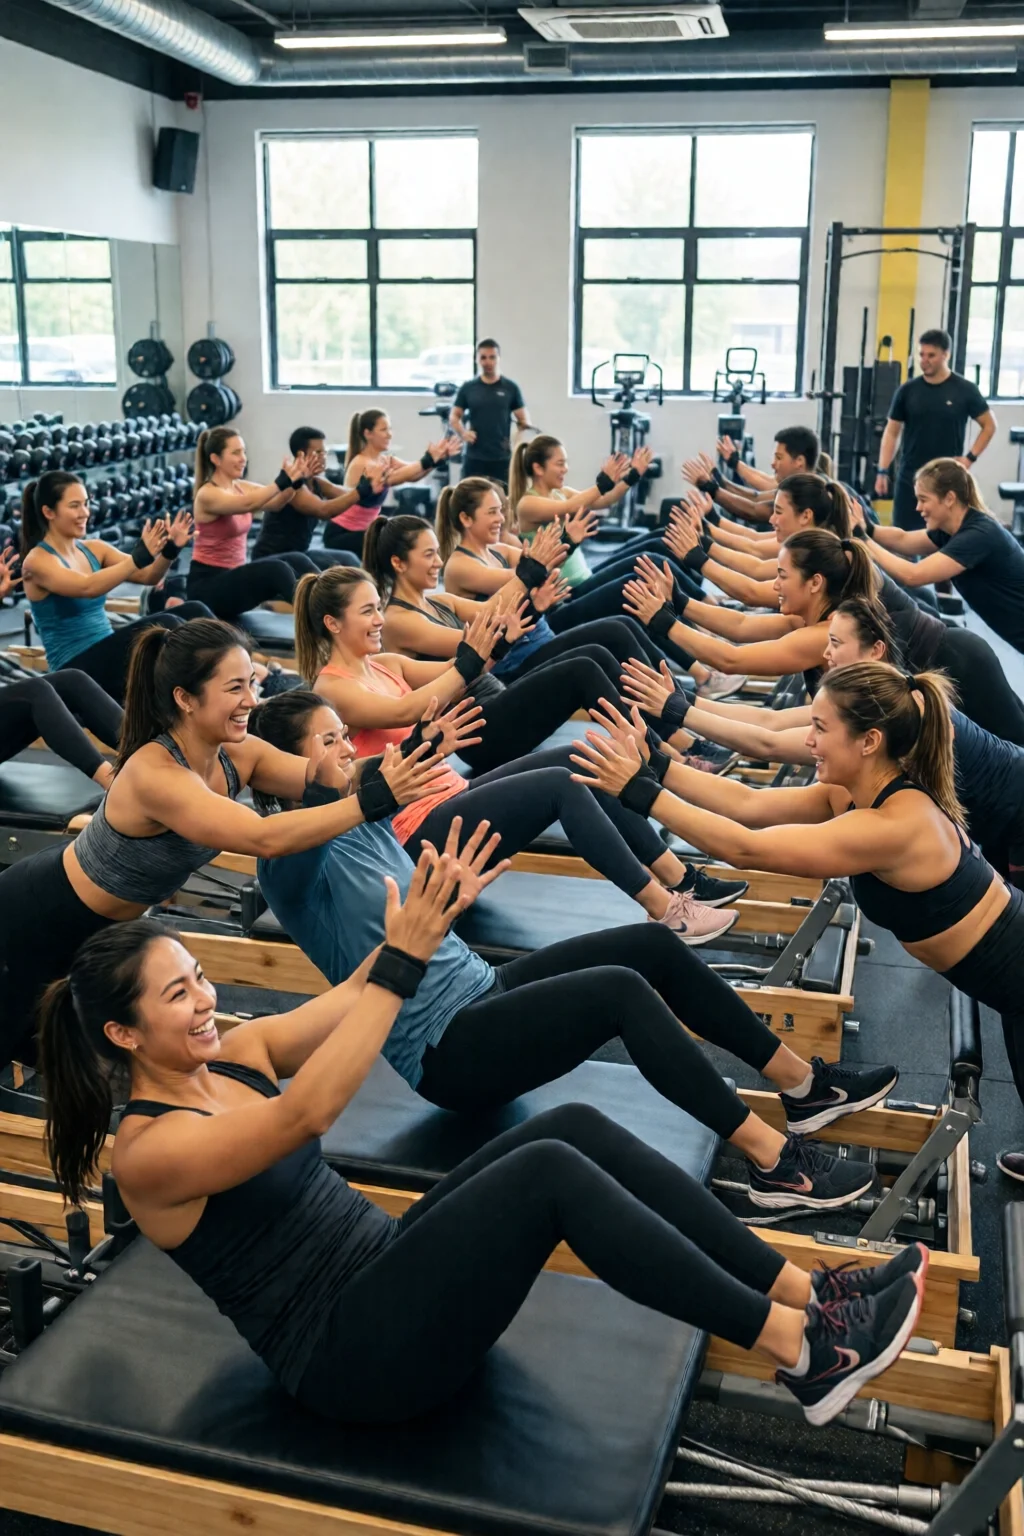
Want Faster Progress? Incorporate the pallof press into a form workout set that alternates between anti‑rotation and rotational core moves. A typical weekly plan might look like:
- Monday: Pallof Press (3 × 12 reps each side) + frog pumps exercise for glutes.
- Wednesday: cardio workout for weight loss (30 min HIIT) and a light core circuit.
- Friday: Pallof Press variations (single‑arm, rotation) + a full‑body strength session.
Nutrition also plays a role. Pair your core training with a balanced meal like fruit salad recipes healthy weight loss recipe (≈250 kcal, high fiber) or a protein‑rich dinner such as chicken and vegetables healthy weight loss recipe 2 (≈350 kcal, 30 g protein) to support muscle repair.
Track your progress. Use a simple spreadsheet: record weight used, reps, and perceived difficulty on a 1‑10 scale. Over 6‑8 weeks you’ll see the numbers climb, confirming improved core stability.
Summary Conclusion
The pallof press exercise is a deceptively simple yet incredibly effective tool for building anti‑rotation strength, improving posture, and protecting your spine during everyday activities. By setting up correctly, mastering the movement, and progressing thoughtfully, you’ll add a functional core pillar to any training program. Remember to keep the core braced, move slowly, and respect your body’s recovery signals. Within a month you should notice less wobble when lifting groceries, a tighter mid‑section during cardio, and smoother performance in compound lifts.
Ready to give it a go? Grab a band or head to the nearest cable station, follow the steps, and watch your core transform from “flimsy” to “rock solid.”
How many sets and reps should I do for the pallof press?
Start with 3 sets of 12‑15 reps per side using a light‑to‑moderate weight. As you become comfortable, increase the load or add advanced variations, aiming for 4 sets of 8‑10 reps with heavier resistance.
Can I do the pallof press without a cable machine?
Absolutely. A sturdy resistance band anchored at chest height works just as well. Choose a band that provides 15‑30 lb of tension for beginners.
What are the main muscles targeted by the pallof press?
The exercise primarily engages the transverse abdominis, obliques, and rectus abdominis for anti‑rotation stability, while also recruiting the glutes, hip abductors, and lower back for overall core cohesion.
Is the pallof press suitable for beginners?
Yes. Start with a light resistance, focus on perfect form, and gradually increase the load. The movement is low‑impact and safe for most fitness levels.
How often should I incorporate the pallof press into my routine?
Two to three times per week, with at least 48 hours of rest between sessions, provides optimal strength gains without overtraining.
1 thought on “Best Pallof Press Exercise Ideas That Actually Work”