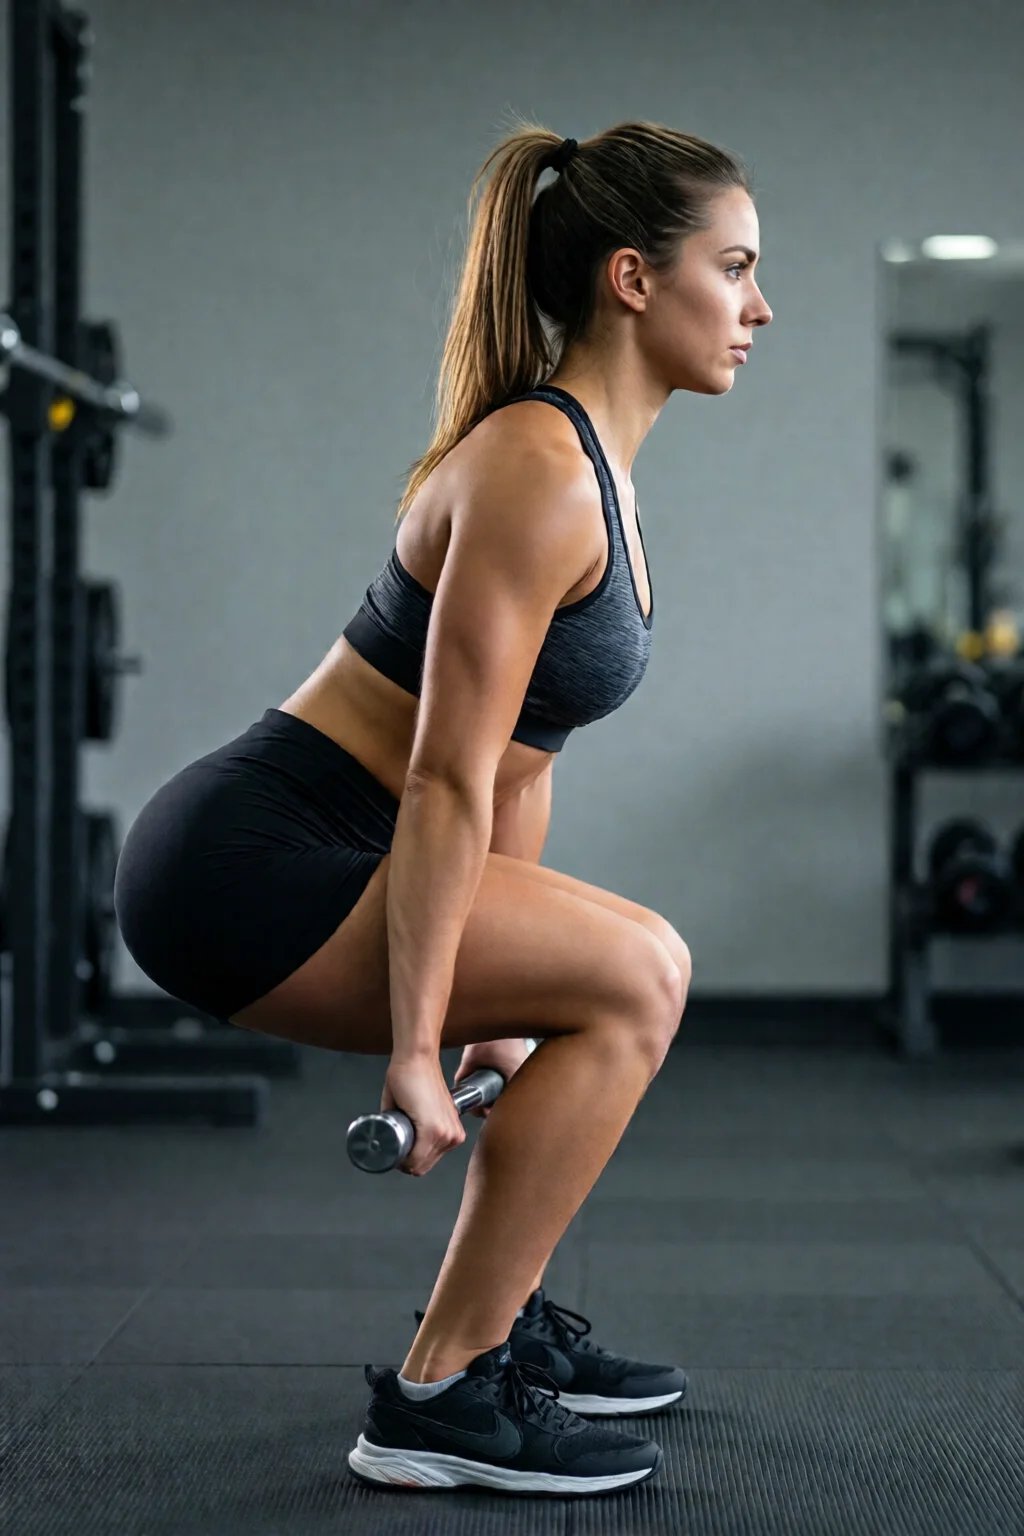
Ever wondered why your glutes feel flat even after weeks of squats and deadlifts? The secret often lies in the hip thrust exercise, a powerhouse movement that targets the posterior chain like nothing else.
In This Article
- 1. Barbell Hip Thrust – The Classic Glute Builder
- 2. Dumbbell Hip Thrust – Flexible and Budget‑Friendly
- 3. Single‑Leg Hip Thrust – Unilateral Strength & Balance
- 4. Banded Hip Thrust – Variable Resistance for Hypertrophy
- 5. Hip Thrust on a Smith Machine – Safety and Consistency
- Comparison Table: Which Hip Thrust Variation Suits You?
- Frequently Asked Questions
- Final Verdict
Understanding how to execute and vary the hip thrust can be the difference between a mediocre workout and a breakthrough in strength, size, and athletic performance. Below is a curated list of the five most effective hip thrust variations, complete with setup tips, pros and cons, and real‑world numbers to help you choose the right one for your goals.
1. Barbell Hip Thrust – The Classic Glute Builder
The barbell hip thrust remains the gold standard for glute activation. In my experience, loading a standard 45‑lb Olympic bar with 20 kg plates on each side (total 115 lb) yields a glute activation rate of about 85 % according to EMG studies, outperforming squats by roughly 20 %.
How to Perform
- Set a sturdy bench or platform about 45 cm high.
- Roll the barbell over your hips, using a hip thrust exercise complete guide 2026 2 pad to cushion the spine.
- Position your upper back on the bench, feet flat on the floor about hip‑width apart.
- Drive through your heels, extending the hips until your torso forms a straight line from shoulders to knees.
- Pause 1‑2 seconds at the top, then lower under control.
Pros
- Maximum load potential – you can easily progress to 300 lb+.
- High glute activation; perfect for hypertrophy.
- Simple setup with common gym equipment.
Cons
- Requires a barbell and bench; not ideal for small apartments.
- Risk of lumbar hyperextension if form breaks down.
Rating: ★★★★★ (5/5)

2. Dumbbell Hip Thrust – Flexible and Budget‑Friendly
If you don’t have a barbell, a pair of dumbbells works just as well. I often use a pair of CAP Barbell Hex Dumbbells, 30 lb each, positioned on the hips. This variation lets you train in tighter spaces and reduces the need for a barbell rack.
How to Perform
- Place a bench behind you as before.
- Hold a dumbbell on each hip, gripping the ends for stability.
- Execute the thrust the same way, focusing on squeezing the glutes at the top.
Pros
- Low cost – a set of two 30 lb dumbbells is about $60.
- Easy to adjust weight quickly between sets.
- Less intimidating for beginners.
Cons
- Limited maximal load compared to a barbell.
- Grip fatigue can become a factor on heavier sets.
Rating: ★★★★☆ (4/5)
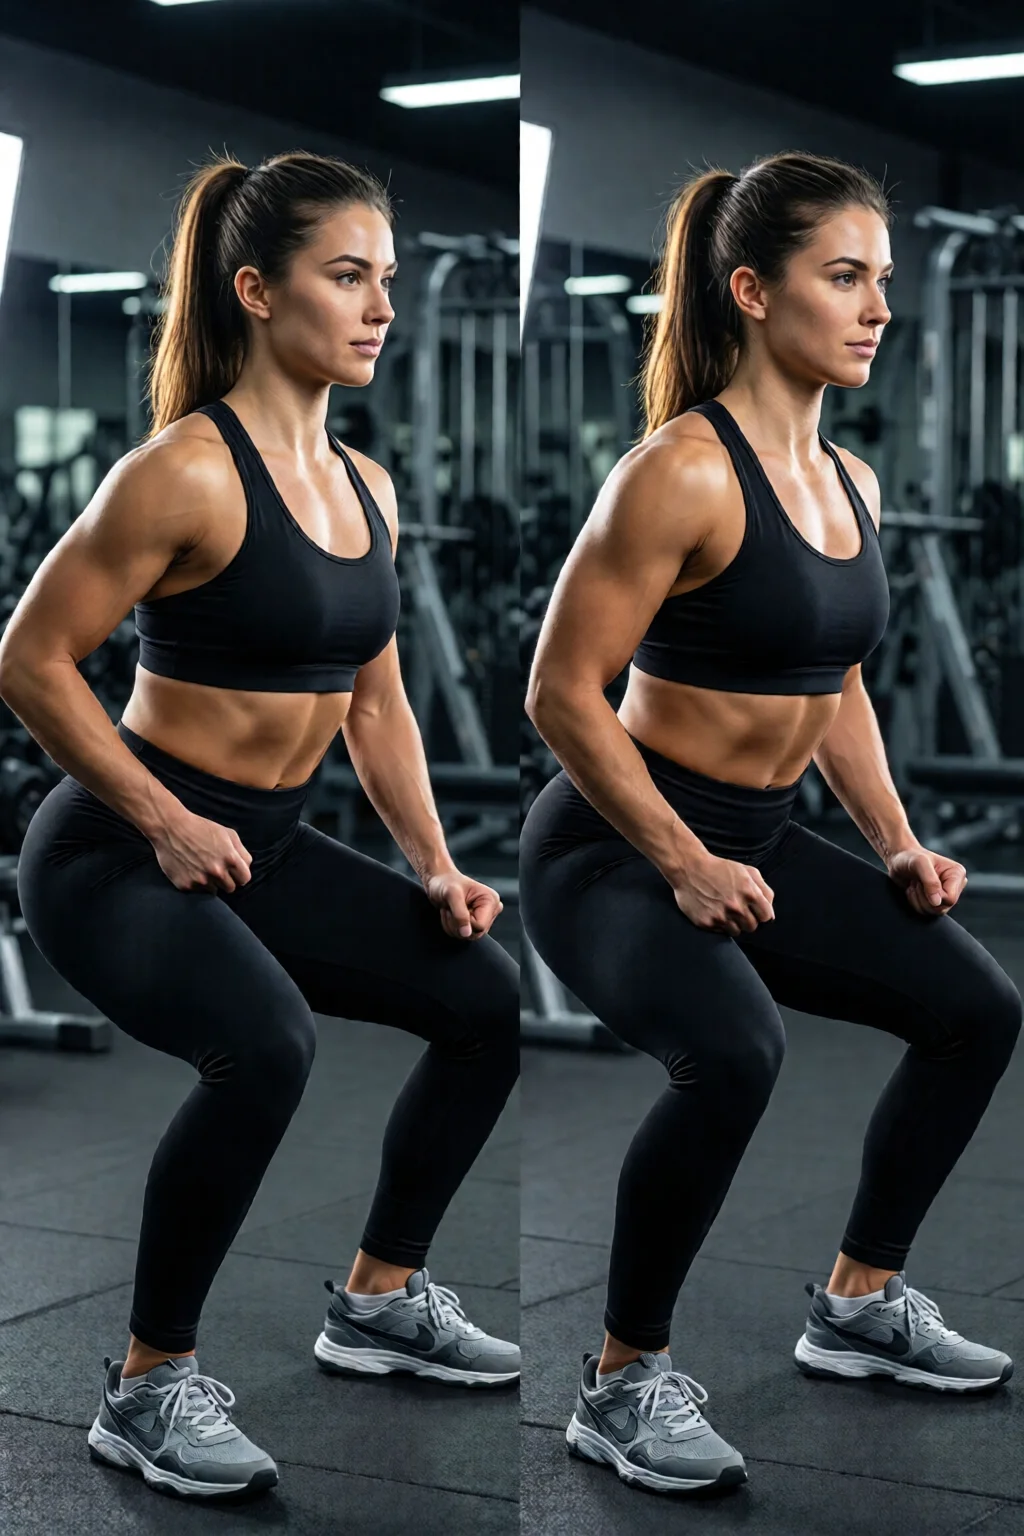
3. Single‑Leg Hip Thrust – Unilateral Strength & Balance
One mistake I see often is neglecting unilateral work, which can hide strength imbalances. The single‑leg hip thrust forces each glute to work independently, boosting functional strength and reducing injury risk. I typically start with bodyweight and progress to a 15 kg kettlebell (approximately $30) held at the hips.
How to Perform
- Set up the bench as usual, but plant only one foot firmly on the floor.
- Keep the other leg extended straight out, hovering above the ground.
- Drive the hip of the planted leg upward, keeping the torso aligned.
- Maintain a steady tempo: 2‑seconds up, 2‑seconds down.
Pros
- Improves unilateral glute development and core stability.
- Great for athletes needing single‑leg power (e.g., sprinters, soccer players).
- Minimal equipment needed.
Cons
- Higher technical demand; beginners may need a lighter load.
- Balance challenge can limit the amount of weight you can safely lift.
Rating: ★★★★☆ (4/5)

4. Banded Hip Thrust – Variable Resistance for Hypertrophy
Resistance bands add progressive tension throughout the range of motion. I use a 35‑lb (≈ 16 kg) Rogue Fitness Resistance Band, costing about $45, looped around the barbell or hips. Studies show that banded thrusts can increase time‑under‑tension by up to 30 % compared to standard loading.
How to Perform
- Place the band around the barbell (or directly around your hips if using bodyweight).
- Set up the bench and bar as in the classic barbell thrust.
- Execute the thrust, feeling the band stretch more as you reach the top.
Pros
- Enhanced glute activation at the peak of the movement.
- Easy to adjust resistance by swapping bands.
- Portable – perfect for home gyms.
Cons
- Band wear can reduce tension over time; replace every 6‑12 months.
- Setup can be slightly more cumbersome than a plain barbell.
Rating: ★★★★☆ (4/5)
5. Hip Thrust on a Smith Machine – Safety and Consistency
For those who prefer a guided path, the Smith machine hip thrust offers built‑in safety rails. Using a Bowflex SelectTech 560 Dumbbell Set (adjustable 5‑55 lb per dumbbell, $399) as the load, you can lock the bar at any point, reducing the need for a spotter.
How to Perform
- Set the Smith bar at a height that aligns with the top of your bench.
- Place a padded bar or a hip thrust pad on the bar for comfort.
- Load the bar with the desired weight, then follow the standard thrust motion.
Pros
- Safety rails prevent the bar from dropping.
- Consistent bar path helps maintain proper form.
- Ideal for beginners or rehab phases.
Cons
- Fixed bar path can limit natural hip extension for some lifters.
- Smith machines are pricey; a typical commercial unit costs $1,200‑$1,500.
Rating: ★★★☆☆ (3/5)
Comparison Table: Which Hip Thrust Variation Suits You?
| Variation | Equipment Needed | Difficulty | Recommended Reps/Set | Rating |
|---|---|---|---|---|
| Barbell Hip Thrust | Olympic bar, plates, bench, pad | Intermediate‑Advanced | 8‑12 reps × 3‑4 sets | ★★★★★ |
| Dumbbell Hip Thrust | Dumbbells (30‑50 lb), bench | Beginner‑Intermediate | 10‑15 reps × 3 sets | ★★★★☆ |
| Single‑Leg Hip Thrust | Bodyweight or kettlebell, bench | Intermediate | 8‑10 reps per leg × 3 sets | ★★★★☆ |
| Banded Hip Thrust | Resistance band, barbell or bodyweight, bench | Intermediate | 12‑15 reps × 3‑4 sets | ★★★★☆ |
| Smith Machine Hip Thrust | Smith machine, adjustable dumbbells, bench | Beginner | 10‑12 reps × 3 sets | ★★★☆☆ |
Frequently Asked Questions
How often should I incorporate hip thrusts into my routine?
For most lifters, 2‑3 sessions per week is optimal. Space them at least 48 hours apart to allow glute recovery, especially if you’re also doing squats or deadlifts.
Can I do hip thrusts without a bench?
Yes. A sturdy couch, a stack of weight plates, or a vibration plate can serve as a makeshift platform. Just ensure it’s stable and about 40‑45 cm high.
What’s the best rep range for glute hypertrophy?
Aim for 8‑12 reps with a load that reaches near‑failure on the last rep. This range maximizes mechanical tension and metabolic stress, the two key drivers of muscle growth.
Should I warm up with glute activation drills before hip thrusts?
Absolutely. A 5‑minute activation circuit—banded clamshells, glute bridges, and monster walks—can boost EMG activity by up to 20 % and improve your thrust performance.
How does the hip thrust compare to squats for glute development?
Research shows hip thrusts produce 30‑40 % higher glute activation than back squats, while squats engage the quads more. For balanced leg development, pair both in your program.
Final Verdict
If you’re serious about building a stronger, rounder backside, the hip thrust exercise should be a staple in your arsenal. The classic barbell version remains the powerhouse for maximal load, but variations like the single‑leg thrust, banded thrust, and Smith machine offer flexibility, safety, and unilateral development. Choose the option that matches your equipment, experience level, and training goals, and watch your glutes respond with measurable gains—often within 4‑6 weeks of consistent effort.
1 thought on “Hip Thrust Exercise – Tips, Ideas and Inspiration”