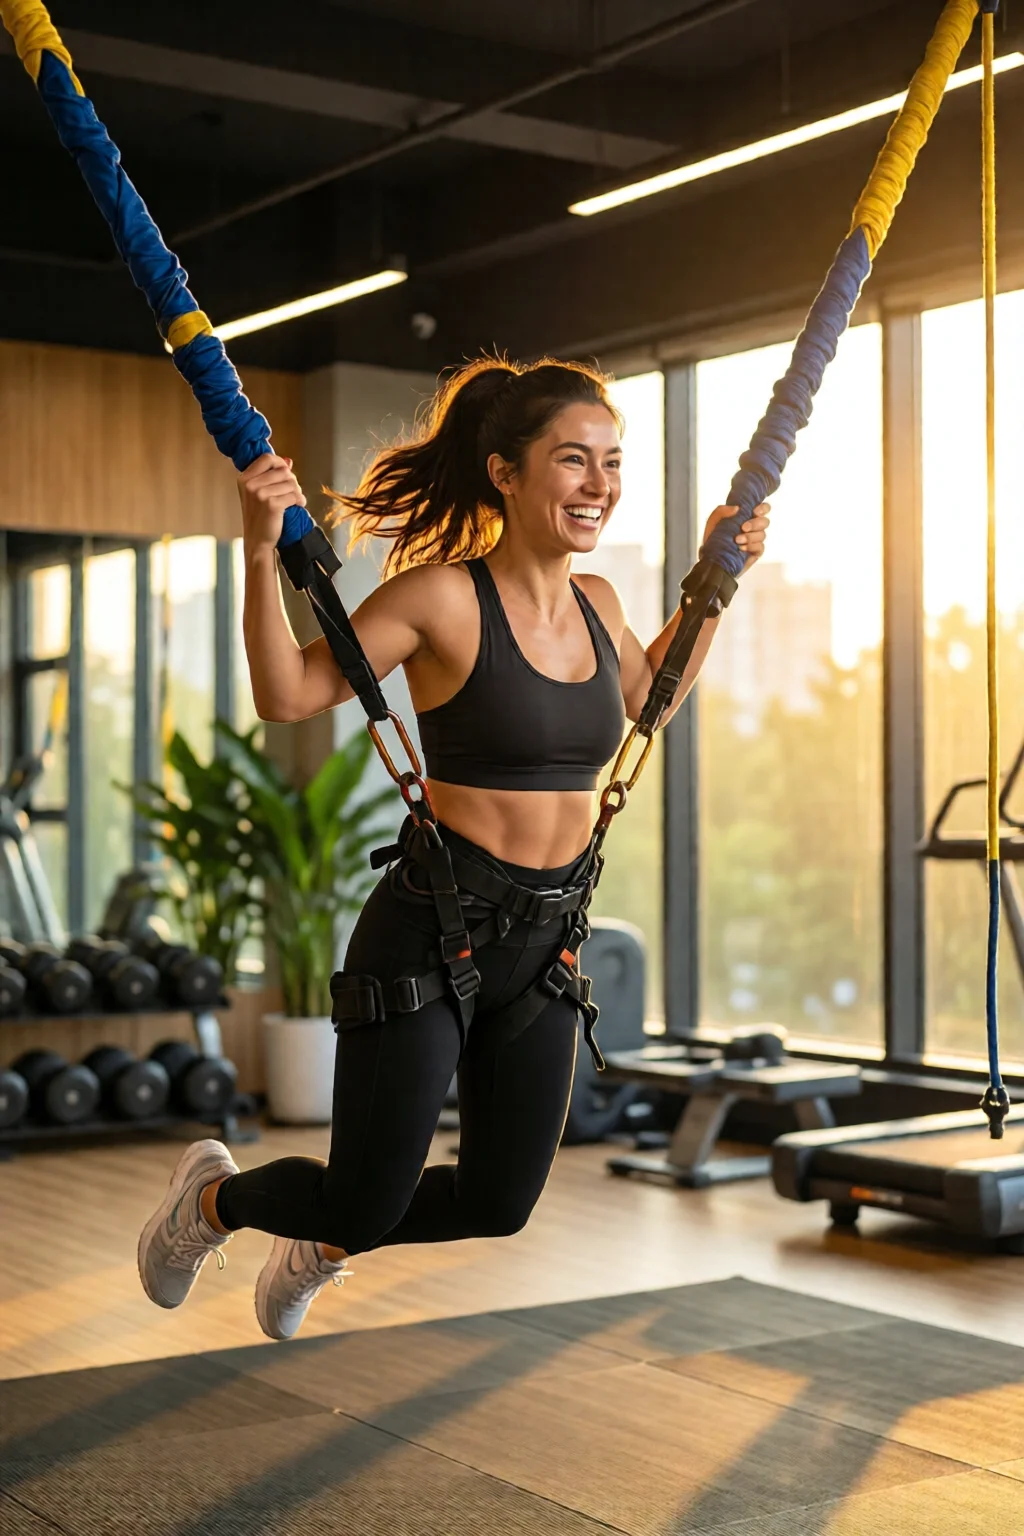
When I first watched a friend swing from a bungee cord while doing burpees, I thought she was auditioning for a stunt show. Turns out she was just finishing a 30‑minute bungee cardio session that left her buzzing with energy and surprisingly sore in the right places. If you’re reading this, you probably want to turn that curiosity into a routine you can actually follow. This bungee fitness complete guide 2026 2 will walk you through everything you need to start, master, and keep improving with bungee training, all without spending a fortune on a gym membership.
In This Article
- What You Will Need (Before You Start)
- Step 1 – Setting Up Your Anchor Securely
- Step 2 – Calibrating the Tension for Your Body Weight
- Step 3 – Warm‑Up (5‑Minute Activation)
- Step 4 – Core Bungee Workout (20‑Minute Circuit)
- Step 5 – Cool‑Down and Stretch (5‑Minute Recovery)
- Common Mistakes to Avoid
- Troubleshooting and Tips for Best Results
- Summary Conclusion
- Frequently Asked Questions
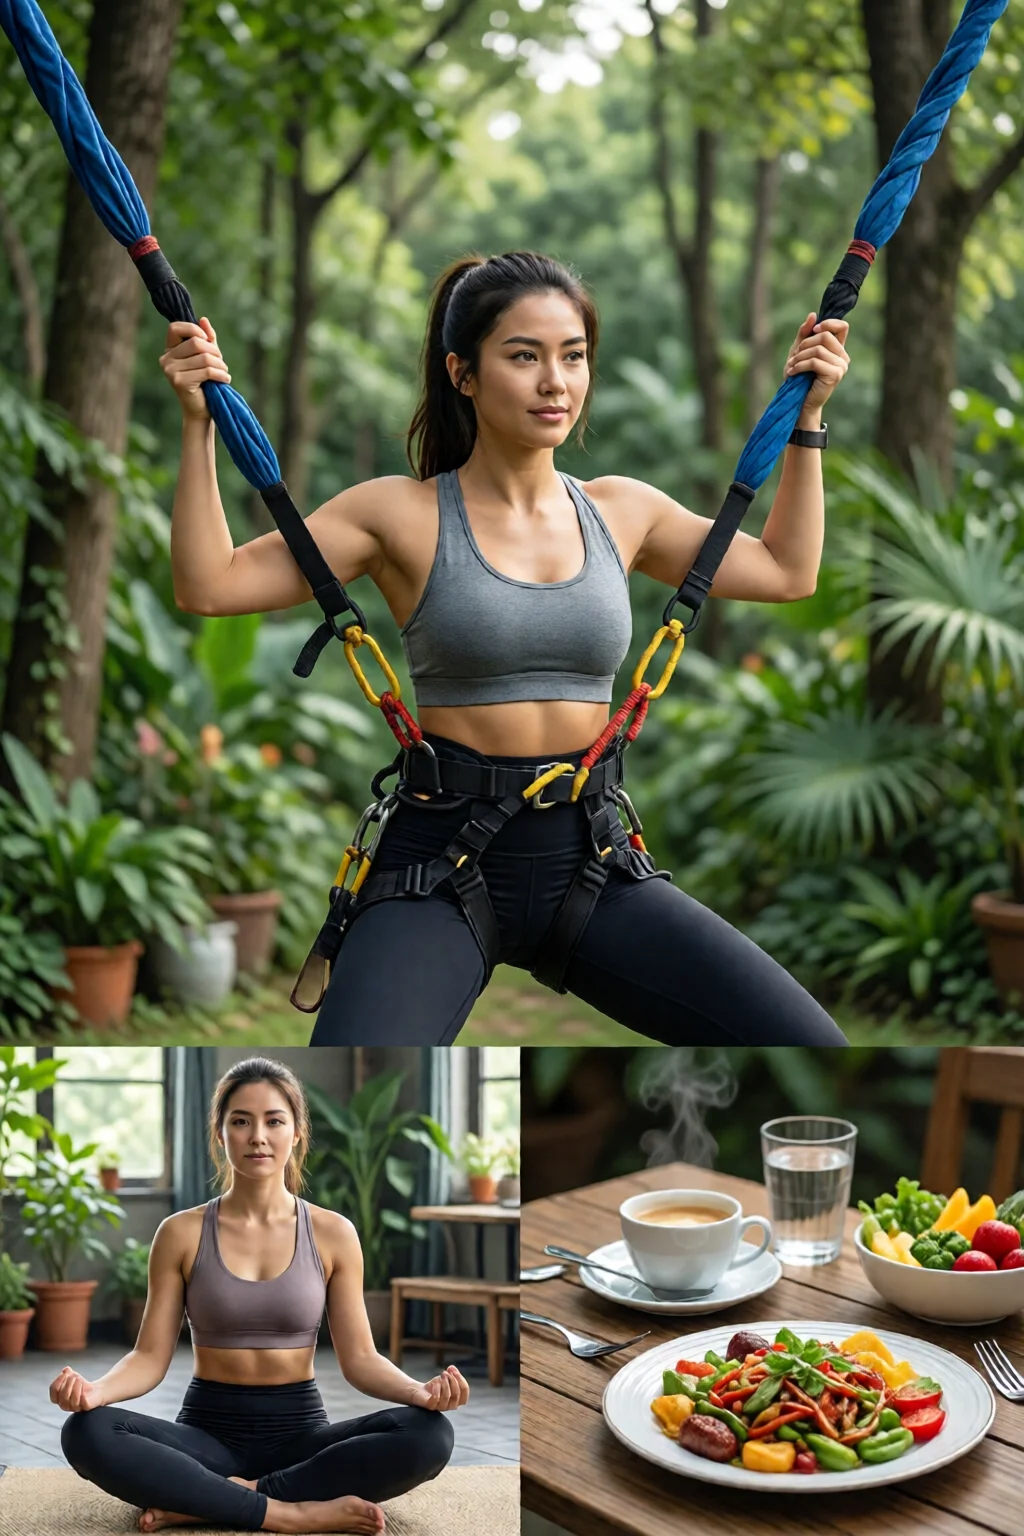
What You Will Need (Before You Start)
- Bungee system: A reputable brand like X‑POW Bungee Fit Pro (price $299, 15‑ft cord, 200 lb weight limit) or the more budget‑friendly G‑Force Bungee Trainer ($179, 12‑ft cord, 150 lb limit). Both come with a sturdy anchor strap and a quick‑release clip.
- Anchor point: A solid ceiling beam, a pull‑up bar, or a portable freestanding anchor (e.g., Flexi‑Anchor, $89, 10‑lb steel base).
- Footwear: Low‑profile trainers with a firm sole (Nike Metcon 8, $140) for better grip.
- Safety gear: Wrist wraps ($25) and a knee pad ($30) if you’re new to the bounce.
- Timer or interval app: My favorite is the free Interval Timer app, which lets you set 30‑second work/15‑second rest cycles.
- Space: At least a 10‑ft × 10‑ft clear area; ceiling height should be 9 ft or higher to allow full extension.
Having these items ready means you won’t waste time hunting for a missing cord mid‑workout. Once you’ve gathered them, you’re set to dive into the actual bungee routine.
Step 1 – Setting Up Your Anchor Securely
Choose the Right Spot
Locate a sturdy joist or a commercial-grade pull‑up bar. If you’re using a portable anchor, place it on a flat surface and lock the base with the supplied wrench. The anchor must withstand at least 300 lb of dynamic force; otherwise you risk a snap.
Attach the Bungee Cord
Thread the cord through the anchor’s D‑ring, then clip the carabiner onto the quick‑release hook. Pull the cord taut and test the tension by gently tugging; you should feel a firm rebound, roughly 0.5 lb of stretch per foot of cord.
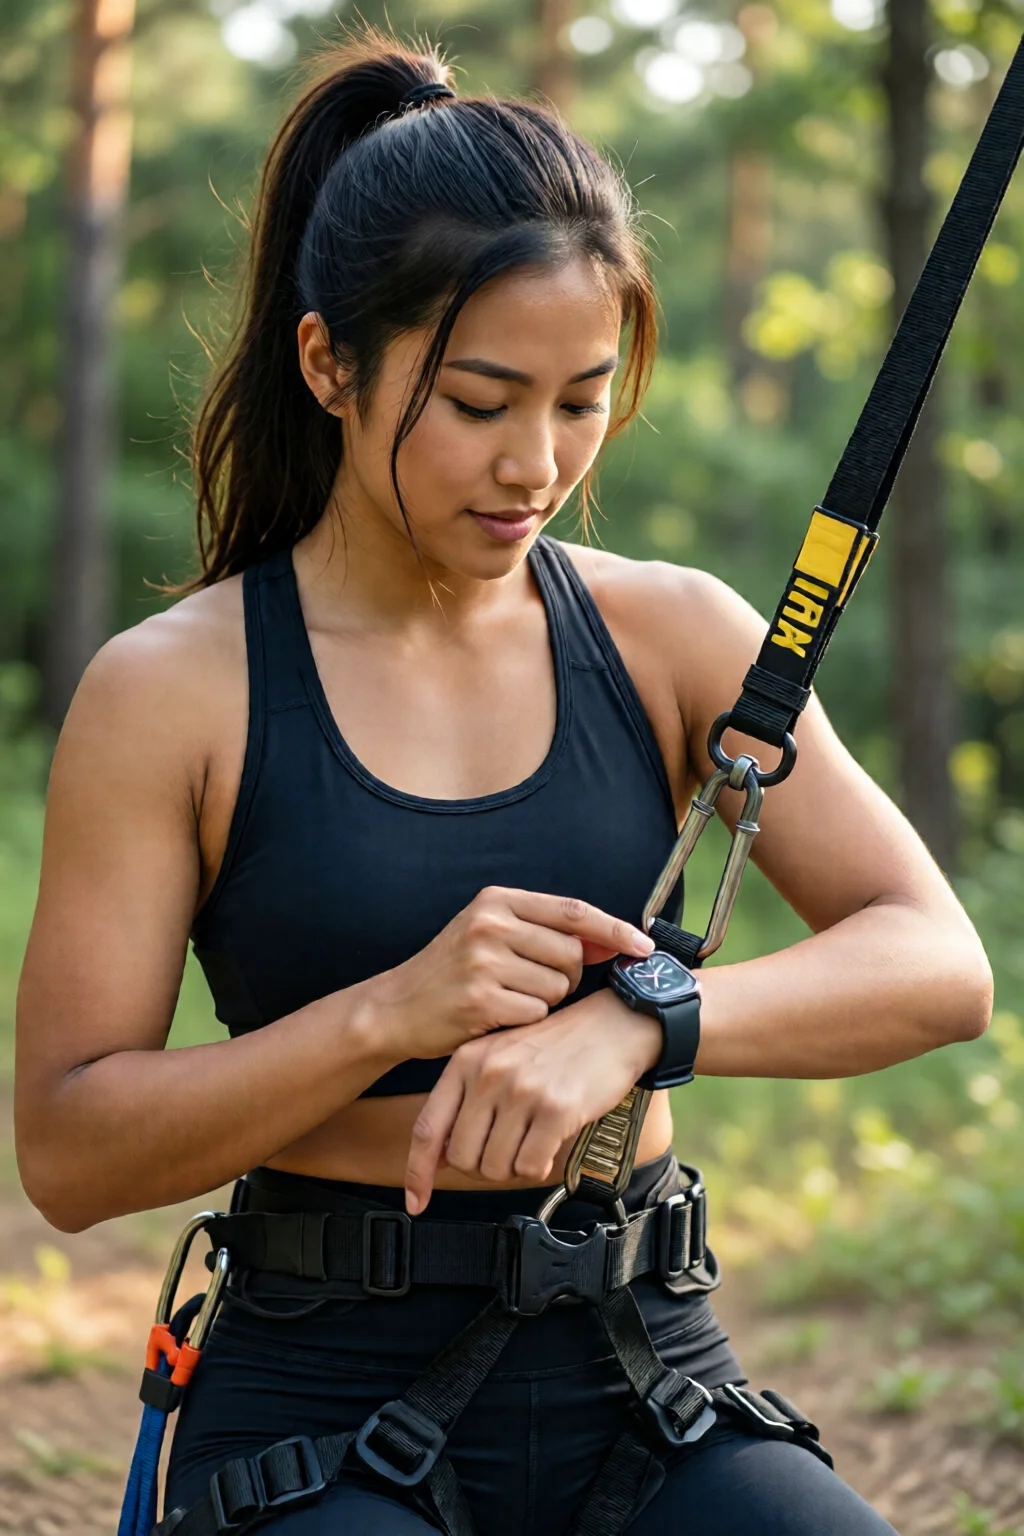
Step 2 – Calibrating the Tension for Your Body Weight
Measure Your Stretch
Stand on the floor, hold the bungee handle, and step back until the cord forms a 45° angle. For a 165‑lb person, this usually means a stretch of 3‑4 ft, giving a resistance of about 70 lb. Adjust by moving closer (more tension) or farther (less tension).
Record Your Settings
Write down the distance from the anchor and the stretch length in a notebook or a notes app. I keep a simple table: Weight – Stretch – Resistance. This makes repeat sessions consistent.
Step 3 – Warm‑Up (5‑Minute Activation)
Warm‑ups are critical because the elastic pull can stress joints if you’re cold. Perform the following circuit twice, 30 seconds each:
- Bodyweight squats
- Arm circles (forward/backward)
- Hip hinges
- Dynamic lunges
- Light bungee pulls (just hold the handle, let the cord bounce gently)
By the end, your heart rate should be around 110‑120 bpm, and you’ll feel a subtle tension in the calves and shoulders.

Step 4 – Core Bungee Workout (20‑Minute Circuit)
Structure
Use a 30‑second work / 15‑second rest interval. Complete each exercise, then move to the next without pausing. After six moves, rest for 60 seconds and repeat the circuit three times.
- Bungee Squat Jumps: Hold the handle, squat, explode upward, letting the cord stretch and rebound. Aim for 8‑10 reps per set.
- Reverse Lunge Pull‑Backs: Step back into a lunge, pull the handle toward your chest, then return.
- Standing Chest Press: Face away from the anchor, push the handle forward, fully extending arms.
- High Knees with Bungee Resistance: Run in place while the cord pulls your shoulders down, increasing hip drive.
- Plank Rows: In a plank, pull the handle toward your hip, alternating sides.
- Overhead Pull‑Throughs: Stand tall, lift the handle overhead, then pull it down behind you, engaging the lats.
In my experience, the first round feels like a light cardio session, but by the third round you’re burning roughly 450 kcal per hour, comparable to a HIIT class.
Step 5 – Cool‑Down and Stretch (5‑Minute Recovery)
Finish with static stretches targeting the muscles you just worked. Hold each stretch for 30 seconds:
- Standing hamstring stretch
- Doorway chest stretch
- Standing quad stretch
- Seated glute stretch
Don’t forget to gently shake out the arms and legs to release any residual tension from the elastic recoil.
Common Mistakes to Avoid
- Over‑stretching the cord: Pulling the handle beyond 6 ft of stretch can exceed the cord’s safe load (often 250 lb), risking breakage.
- Improper anchor placement: Anchoring to a drywall stud instead of a joist can cause the whole setup to fail.
- Neglecting the warm‑up: Skipping the activation phase leads to sharper joint pain, especially in the knees.
- Using the wrong grip: A loose grip makes the cord slip, reducing resistance and increasing injury risk. Use a firm, overhand grip.
- Skipping the cool‑down: Without stretching, you’ll feel tightness that can linger for days.
Troubleshooting and Tips for Best Results
Issue: Cord Bounces Too Much, Making Balance Hard
Solution: Reduce the stretch length by moving closer to the anchor by 1‑2 ft. This lowers the elastic energy and steadies the movement.
Issue: Your Heart Rate Spikes Above 180 bpm Too Quickly
Solution: Shorten the work interval to 20 seconds and increase rest to 30 seconds. Gradually build back up as cardio improves.
Issue: The Handle Slips From Your Hand
Solution: Wrap a thin Grip‑Pro tape (cost $8) around the handle. It adds texture without adding bulk.
Tip: Mix in Other Modalities
Integrate bungee sessions with fitness warrior nation strength circuits or a rock fitness climbing routine for a well‑rounded program.
Tip: Track Progress
Log the number of rounds completed, total time under tension, and perceived exertion (1‑10 scale). After four weeks, you’ll see measurable gains in power and endurance.
Summary Conclusion
By following this bungee fitness complete guide 2026 2, you’ve learned how to set up a safe anchor, calibrate tension for your body weight, execute a balanced 20‑minute circuit, and avoid the pitfalls that trip up beginners. The beauty of bungee training is its portability: you can hang the system in a garage, a hotel room, or even a backyard shed, and still get a full‑body workout that burns calories, builds strength, and keeps your joints happy. Remember to start with modest tension, respect the warm‑up and cool‑down, and track your progress. In a few weeks, you’ll notice stronger legs, tighter core, and a new confidence that comes from mastering an unconventional training tool.

Frequently Asked Questions
How often should I do bungee workouts?
Three to four sessions per week, spaced by at least 48 hours, allow sufficient recovery while still providing cardio and strength stimulus.
Can I use a bungee system if I have knee problems?
Yes, as long as you keep the tension moderate and avoid high‑impact moves like bungee squat jumps. Opt for low‑impact pulls, rows, and overhead presses.
What’s the best way to store the bungee cord?
Coil it loosely in a dry environment, away from direct sunlight. A mesh storage bag (often included with the system) prevents UV degradation.
Do I need any additional equipment for a complete program?
While bungee training can be a standalone cardio/strength session, pairing it with a free tai chi workout complete guide 2026 2 for flexibility or a lean beef recipes healthy weight loss recipe for nutrition makes the results more holistic.
Is bungee fitness safe for kids?
For children under 12, use a lighter cord (max 80 lb resistance) and supervise closely. Focus on low‑impact pulls and avoid jumps.
4 thoughts on “Bungee Fitness Complete Guide 2026 2 – Everything You Need to Know”